Activate Your Account in the Mobile App
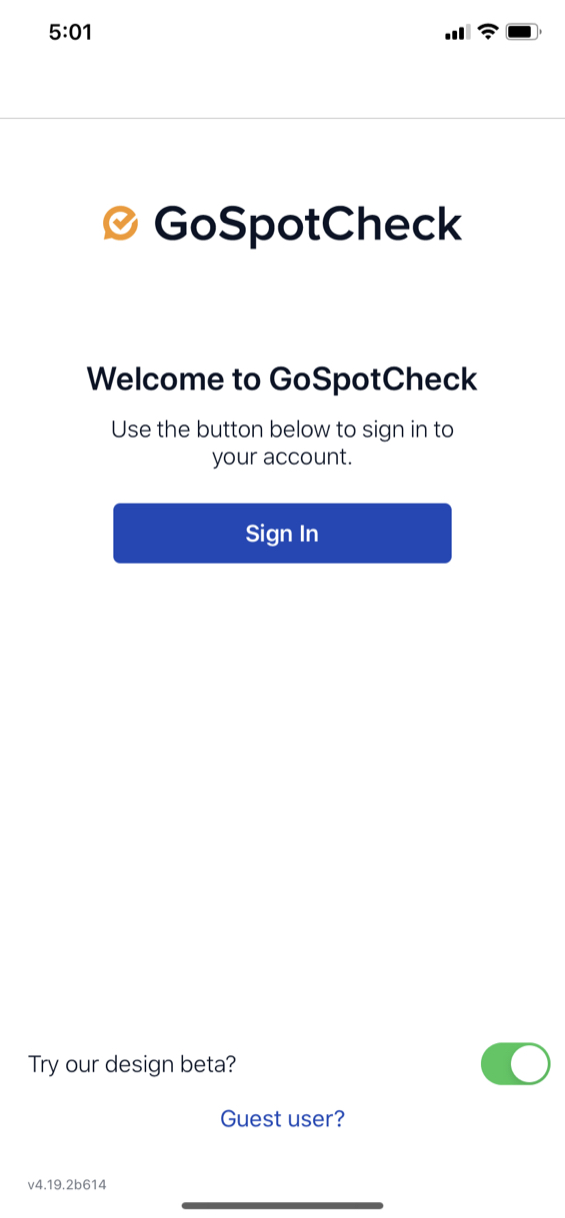
Welcome to GoSpotCheck, we're glad you're here! Before we get started, please make sure you've downloaded the GoSpotCheck Mobile Application to your device.
Now that we've got that out of the way...let's activate your account! There are three ways to activate your account using the Mobile App. You can use:
We'll cover all three ways in this article, starting with the most common:
Activate using your Company Email Address
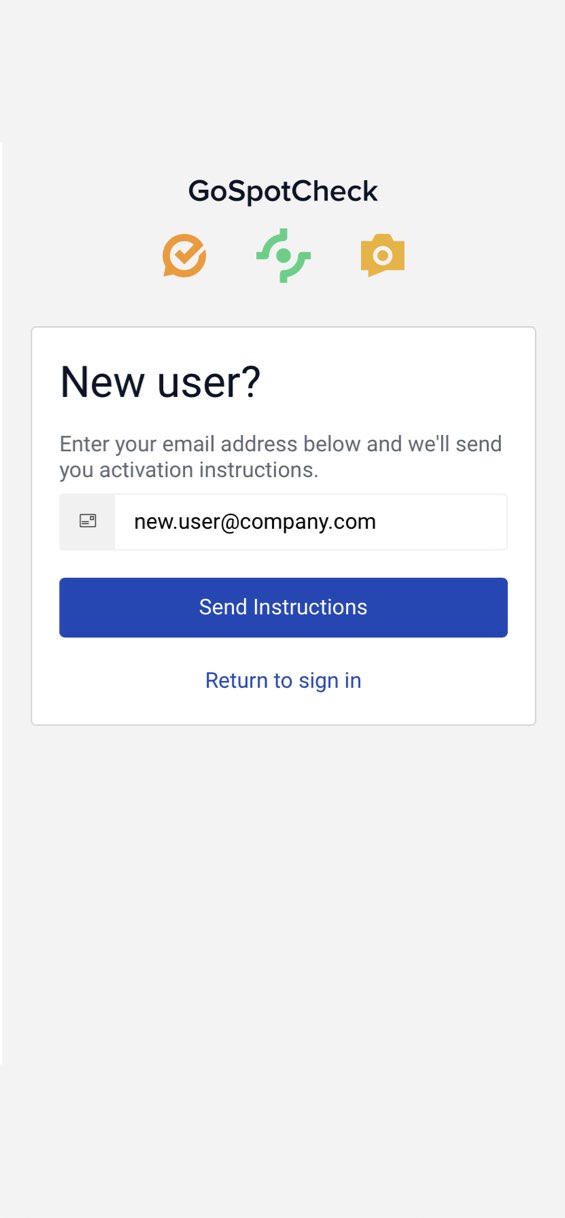
Prior to your initial login, a company admin needs to add you as a user to the Web Dashboard. Most likely, you'll receive an email from GoSpotCheck informing you that you've been invited to use GoSpotCheck. However, even without an email, anyone who has been added as a user to GoSpotCheck via the web dashboard can follow these instructions to complete activation of their account.
Set Your Password
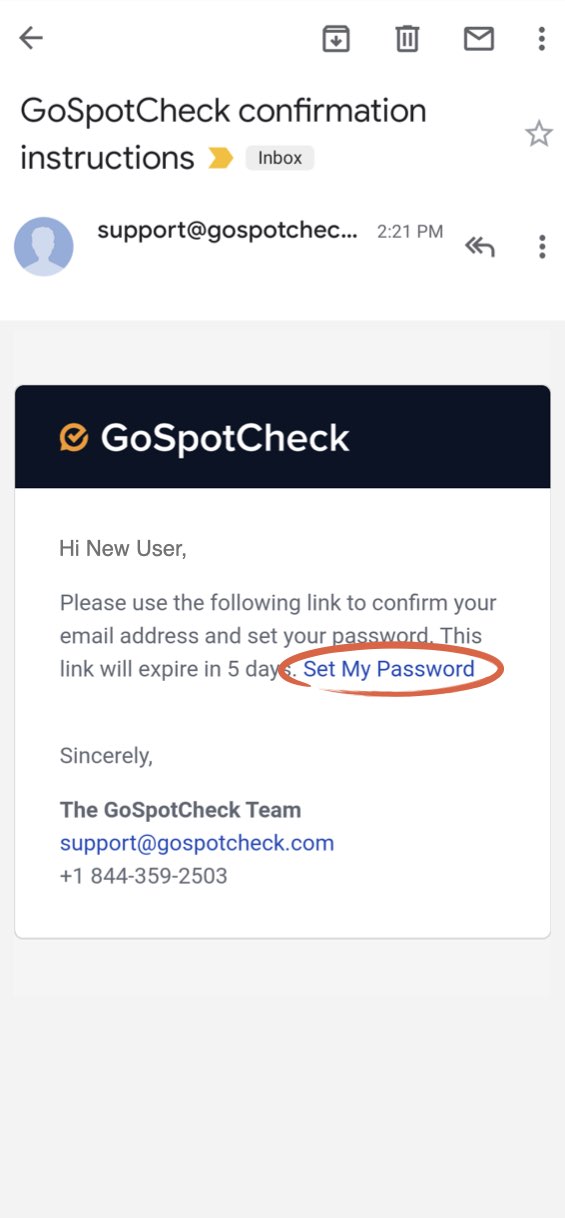
Once you've verified your email address via the verification link, you'll be directed to Set Your Password in the GoSpotCheck Mobile App.
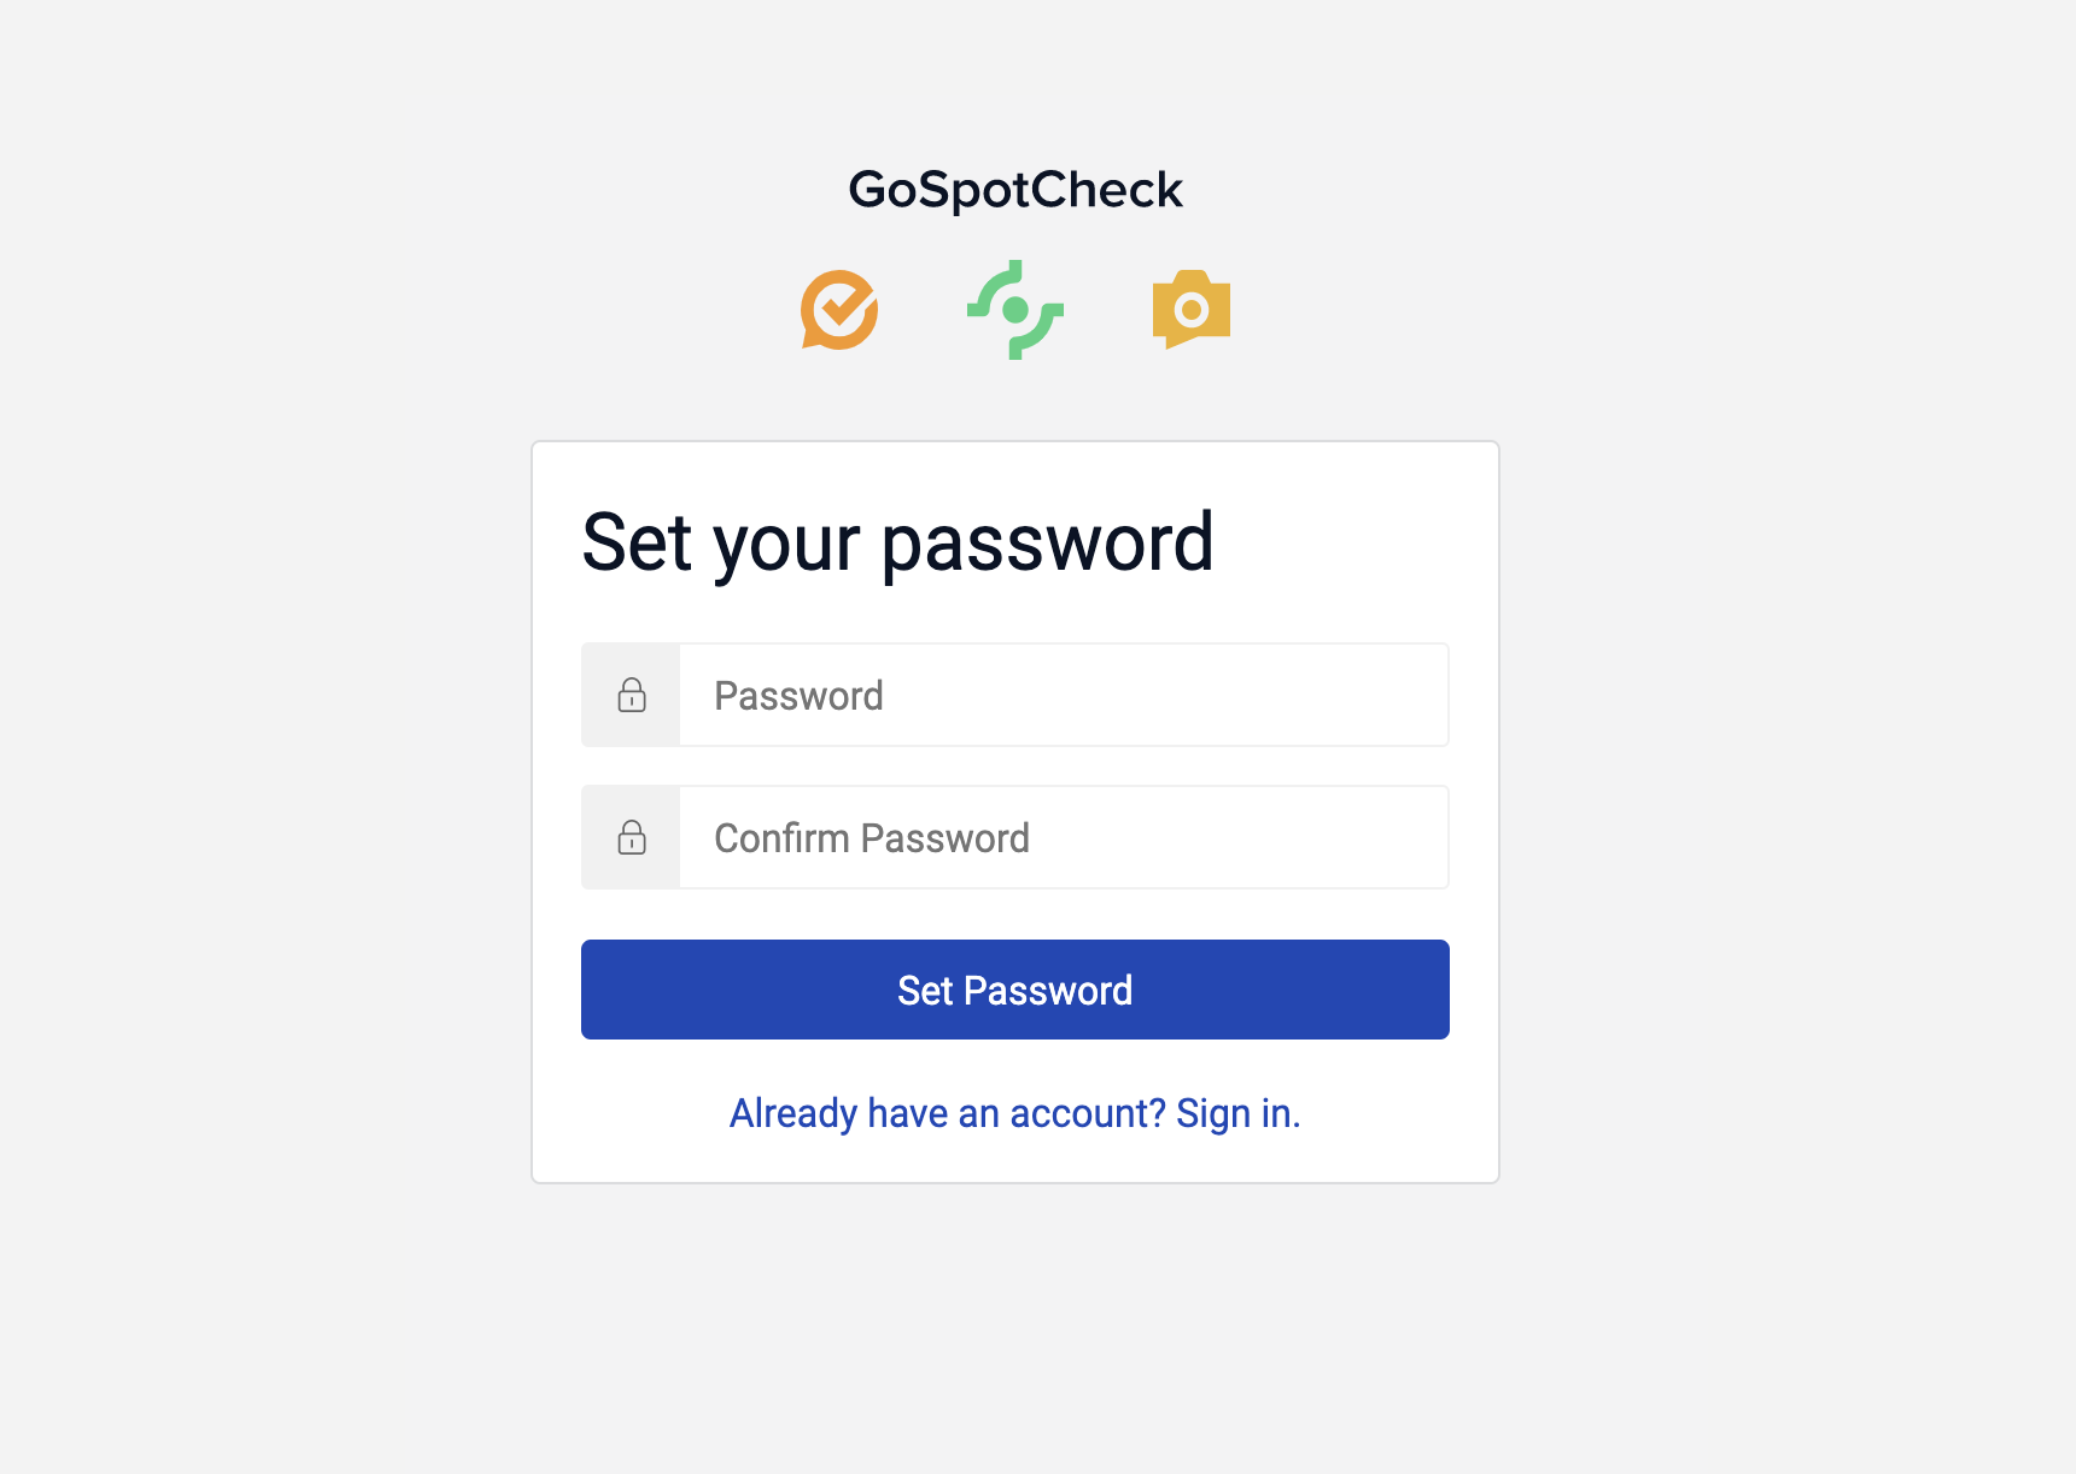
- Enter a password that contains 8 or more characters. You'll be asked to enter it twice for verification purposes.
- Tap Set Password to complete your initial activation and be directed to the Choose a Place screen within your app; from there you can select a nearby location and begin completing Mission Responses.
Activate using Single-Sign On
Single Sign-On (SSO) allows users to access multiple company applications just one set of login credentials. Utilizing SSO ensures that only users with the right authorization will be able to access GoSpotCheck.
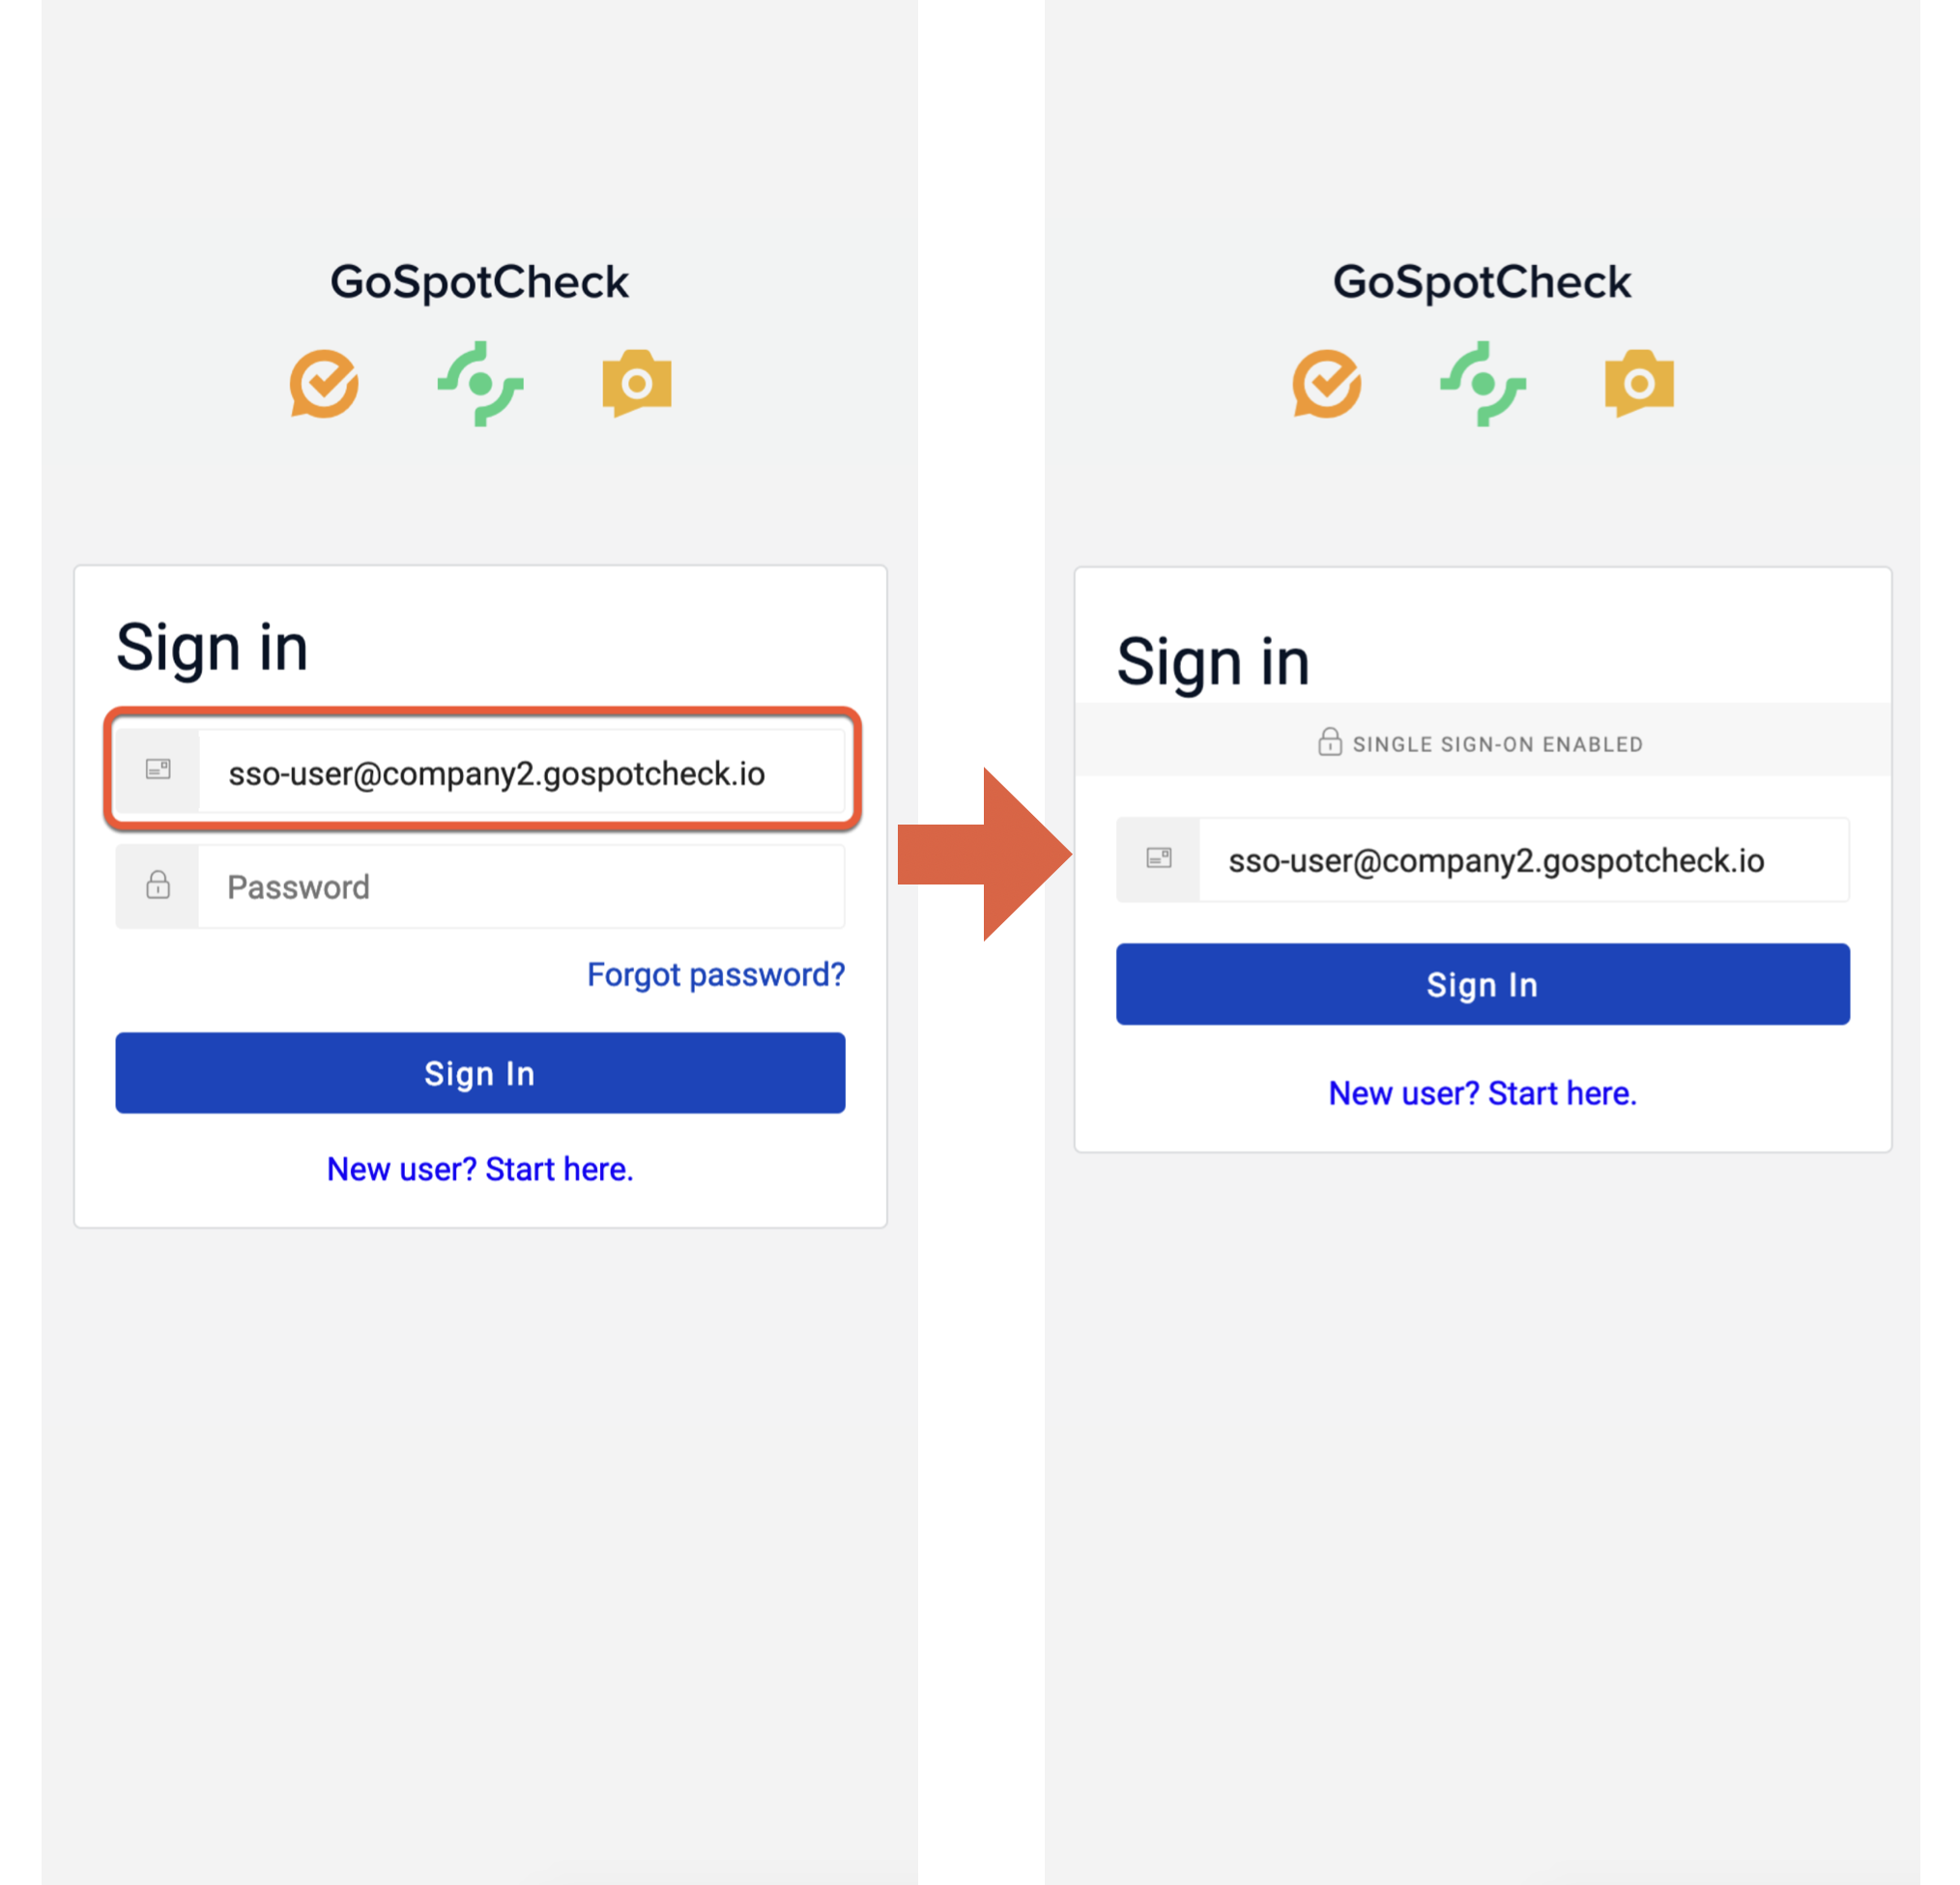
If your company uses SSO to login to GoSpotCheck, your experience will be slightly different from what is outlined above. Rather than creating a username and password inside GoSpotCheck, we will honor the credentials you use to login to your primary identity provider and redirect you to your company’s login page.
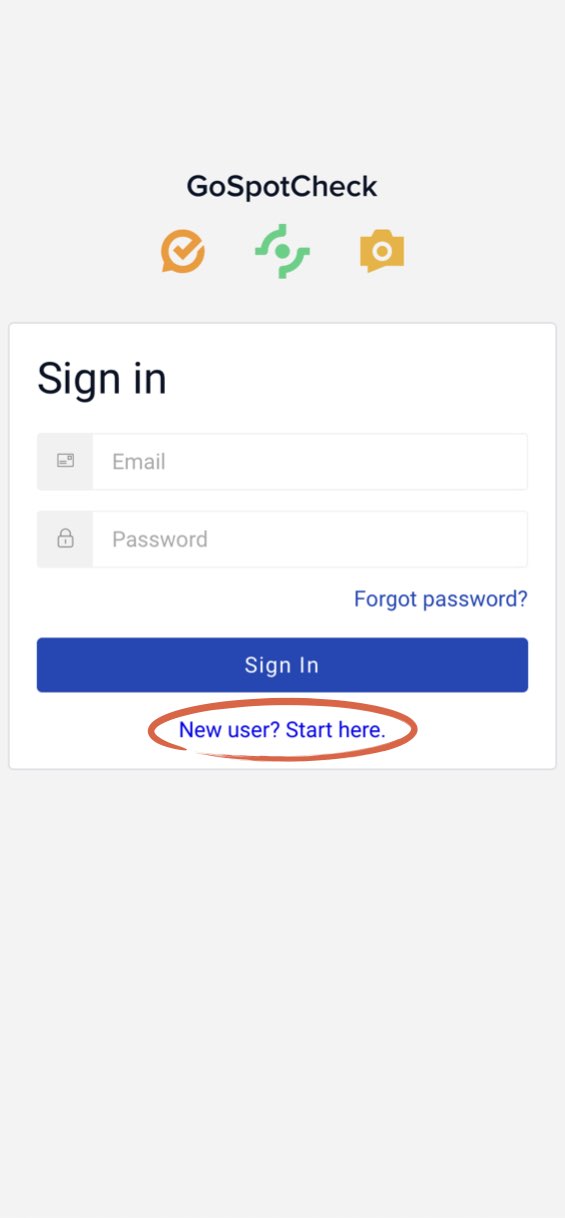
- Open the GoSpotCheck Mobile App and tap Sign In.
- Enter your company email address in the email field. If your email address is associated with a company utilizing Single Sign On, the Password field disappears. Click Sign In to be routed automatically to your company's Identity Management Portal.
- You'll be automatically redirected to your company's Identity Management portal, where you'll validate your identity. After doing so, you'll have successfully activated your account within GoSpotCheck, and you'll be returned to the GoSpotCheck Mobile App's Choose a Place Screen.
Activate using a Guest User PIN
Did you receive a promo code or PIN number to use for GoSpotCheck? If so, here are instructions on how to activate your account as a Guest User:
- The first time that you launch the GoSpotCheck app, you will see the Sign In page.
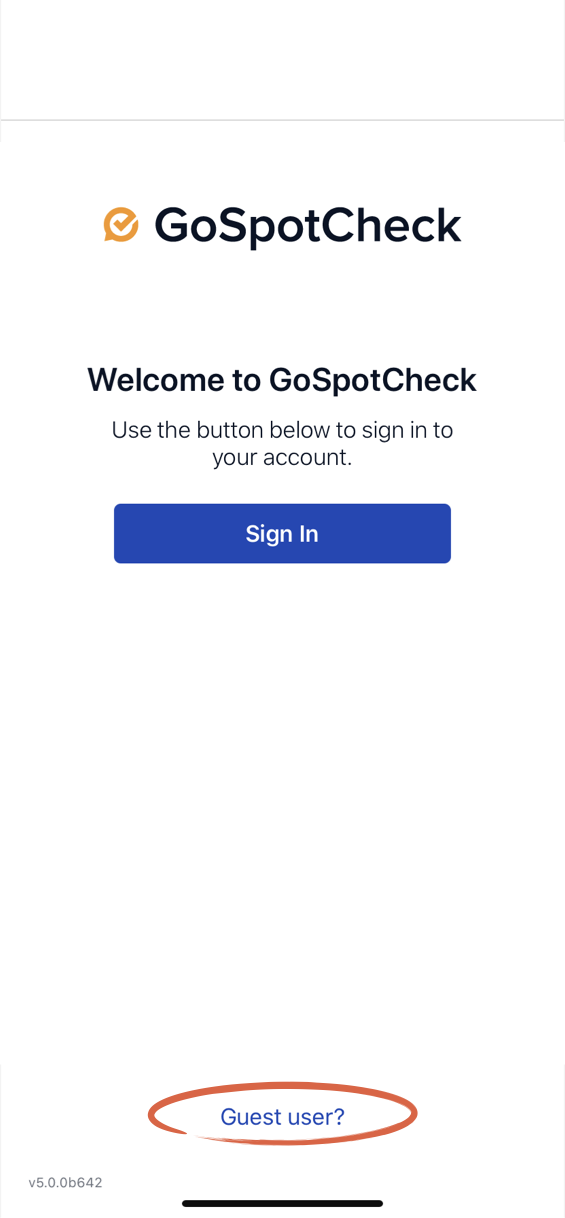
iOS 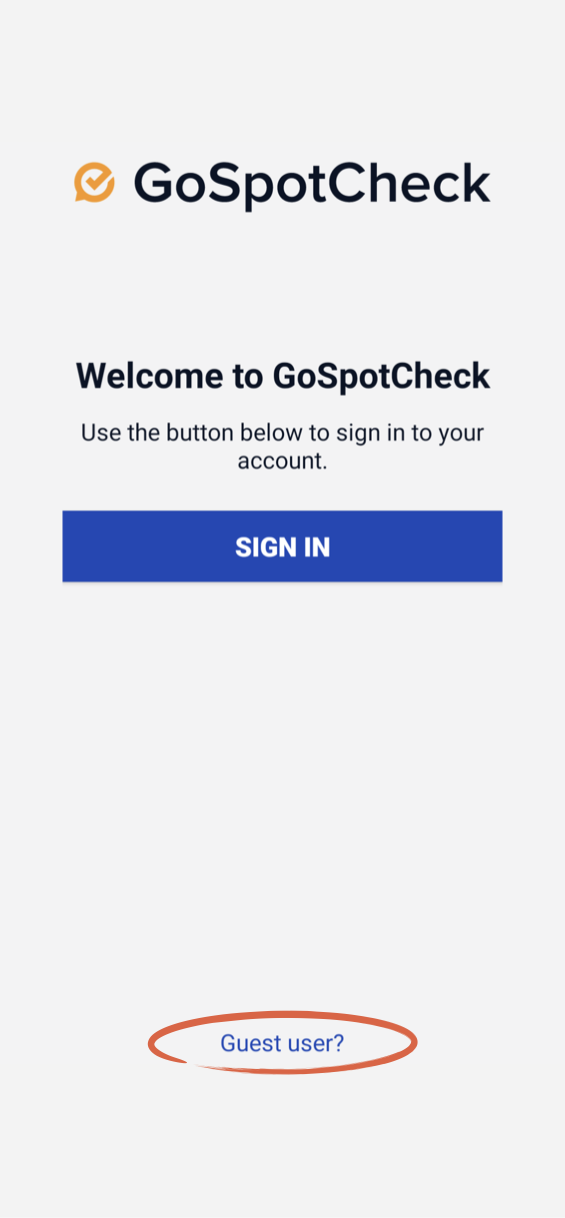
Android - Tap Guest User? at the bottom of this page.
- On the next page, enter your email address (in most cases, this will be your company/work email address). In the PIN field, enter your promo code. Tap Sign In.

iOS 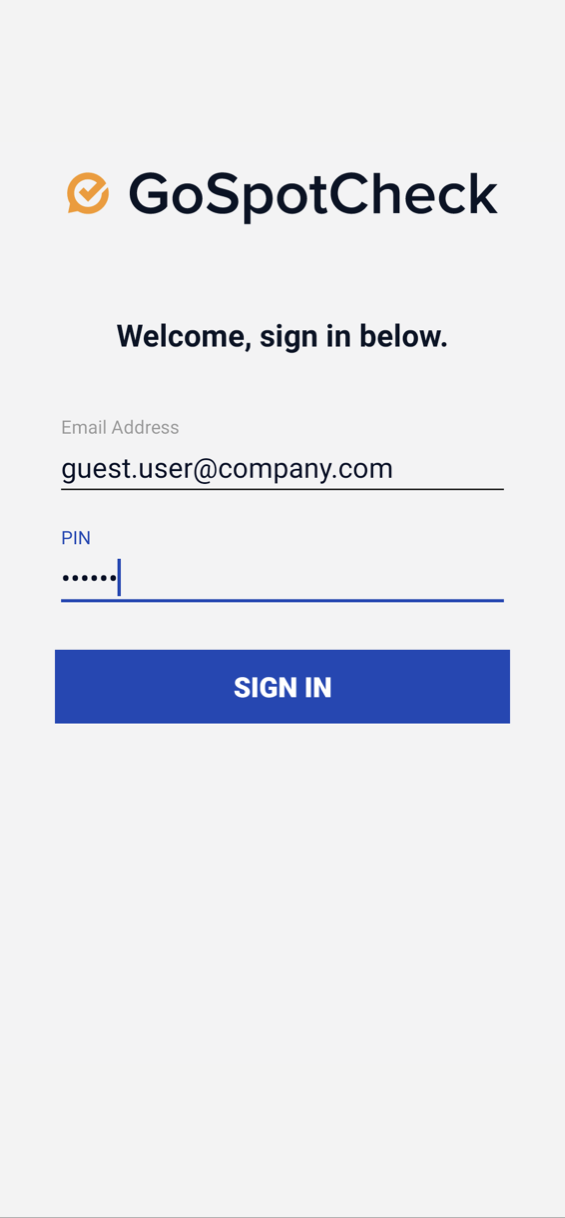
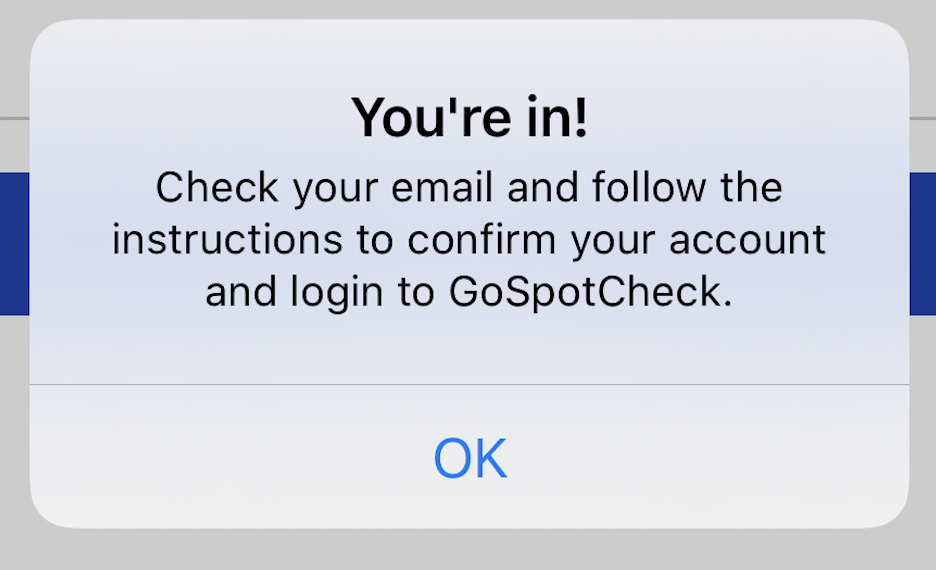
Android - After entering a valid promo code, you will receive the following prompt:
iOS 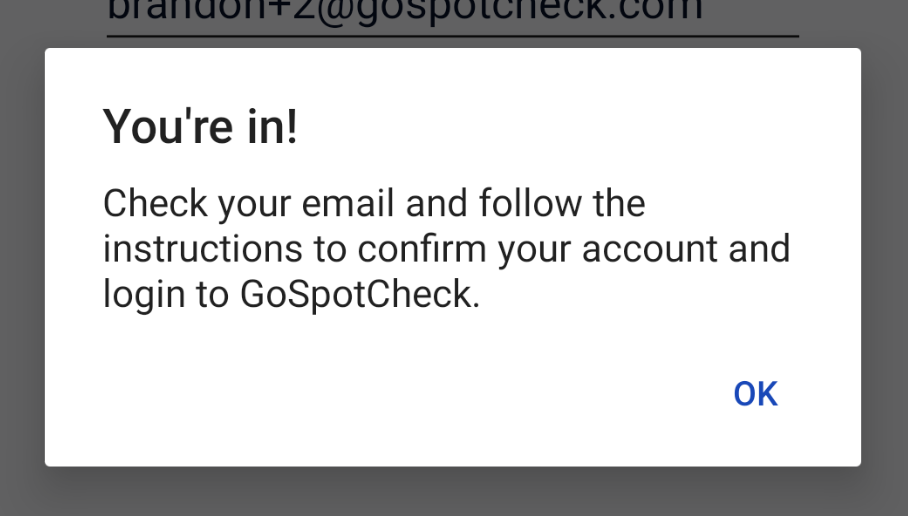
Android - Tap OK on this box, and head to your email inbox to finish setting up your account.
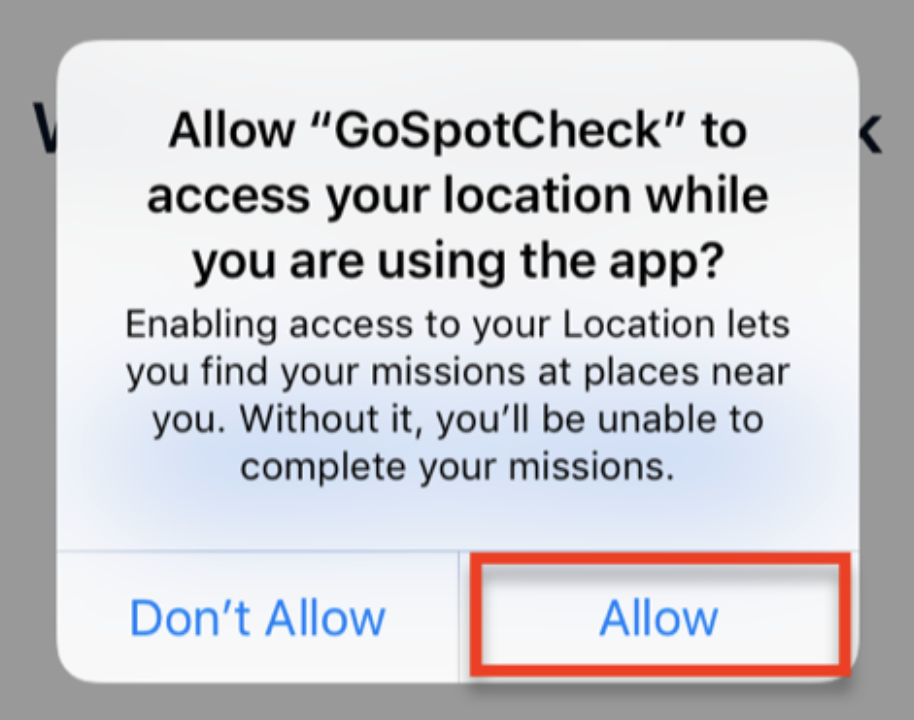
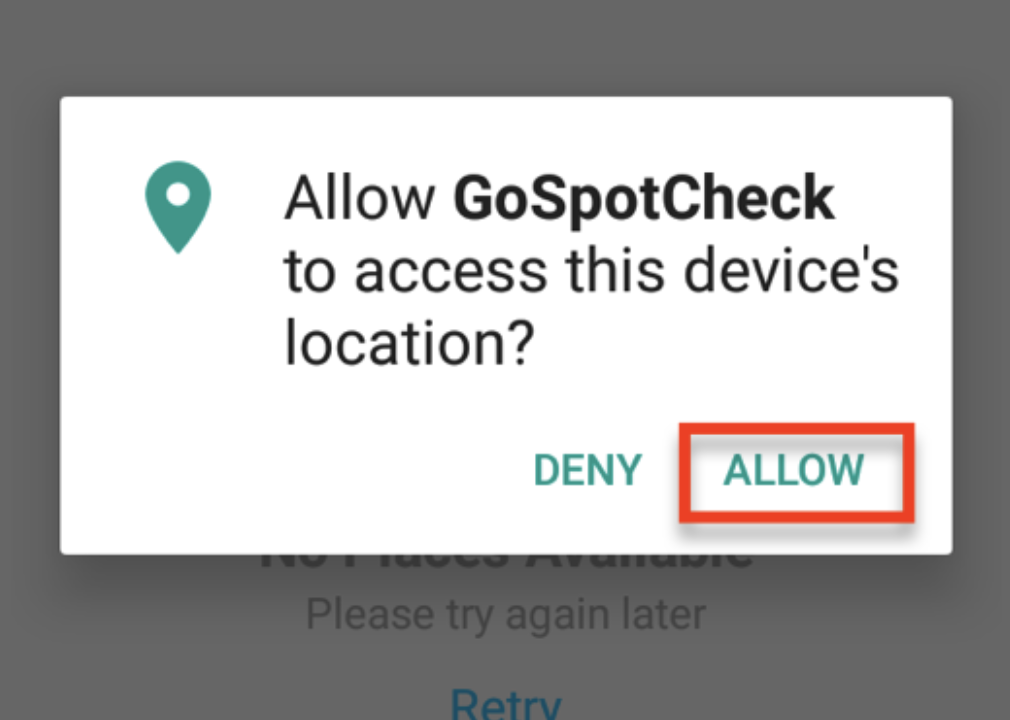
Enable Location Services
Before you start a mission, you will be prompted to enable location services on your device (if they are not already enabled). You will want Location Services enabled as the app uses your location to show nearby places and geo-stamp mission responses when they are submitted.